That is an image that I use for this tutorial.
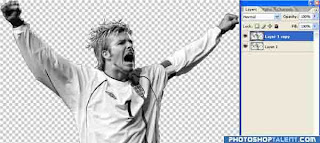
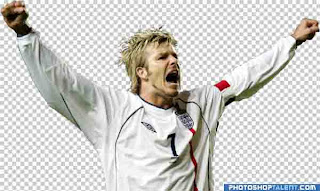 CRTL+J to make a copy of the layer, just in case you (or I) bugger it up. SHIFT+CRTL+U to desaturate it. We're going to color it ourselves:
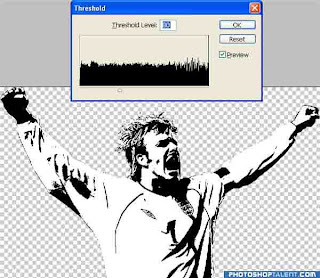
Go Image->Adjustments->Equalize, then Image->Adjustments->Threshold:
Make a new layer and change the blend mode to darken. Click the Foreground color palette and choose a tacky pinky color.
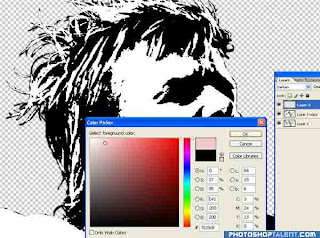
CRTL+Click the base layer to select it then paint on the new layer. We've got the base layer selected to aid us painting. See, now we can't go off his face (but we do have to be careful
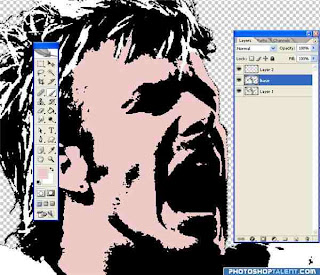
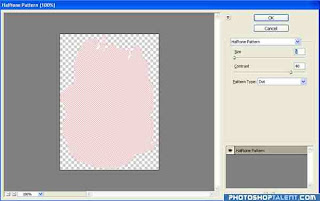
now go Filter->Sketch-Halftone pattern:
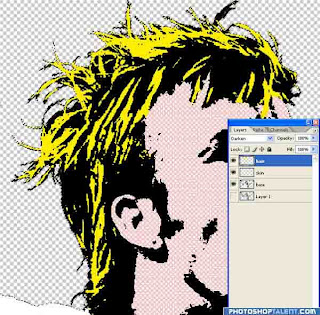
Do his hands while you're at it too. Make a new layer, choose a yellow, and do the same with his hair:
 Create another new layer and call it background (or 'dog' if you want). Fill it (SHIFT+F5) with a nice bright blue:
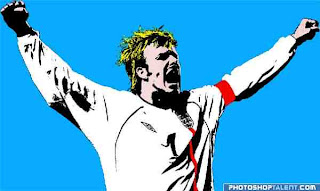
Hide all the layers except the original and use the pen tool to make the selections. Then CRTL+Click the path to select it and fill with red:
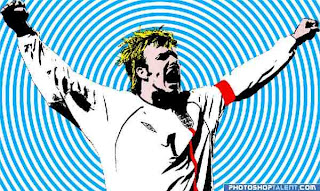
Go back to the blue background layer. Click the eyedropper tool 'I' and click the blue background so this is the Foreground color. Go Filter->Sketch->Halftone pattern again. This time though, choose circle:
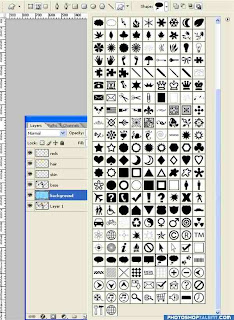
The last job to do is make a thought? bubble. SHIFT+U to cycle through the shape tools until you get to the 'Custom Shape Tool'. You'll see a wholeload of custom shapes from the drop down list:
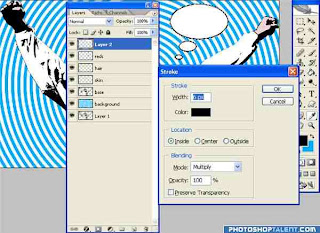
SHIFT+Drag to keep the ratio. That done, go to the paths panel and there it is. CRTL+Click it to make a selection, make a new layer in the layers panel and fill with white. Then go Edit->Stroke and choose black:
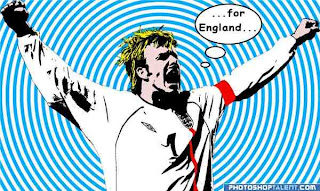
Now all you need do is fill it with some text. Comic Sans works well. And that's all there is to it; drug free pop art:

No comments:
Post a Comment